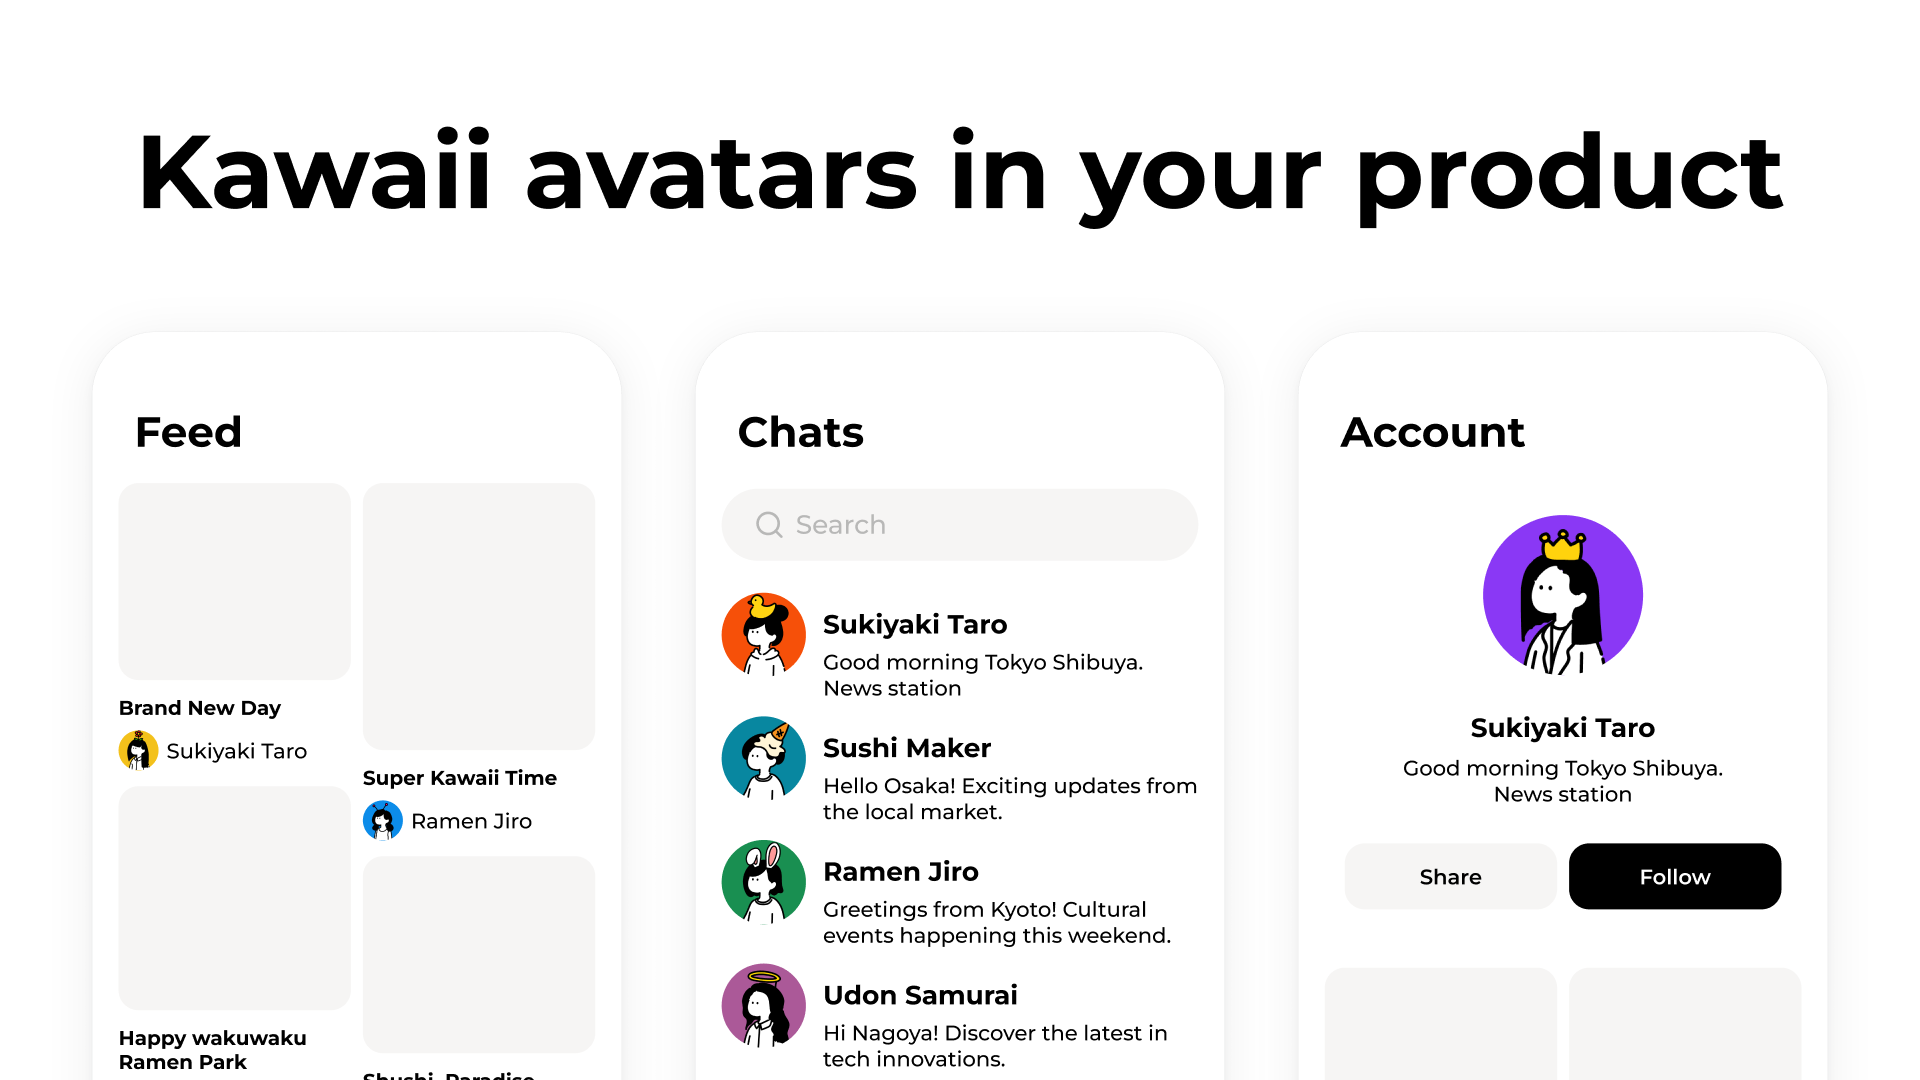
Hand-drawn avatars, no API required
Add deterministic kawaii avatars to your app.
Humation renders local SVG assets from a seed or explicit part selections. Use the React component for product UI, or the core renderer when you need raw SVG output.
01
Install
For React apps, install the component and the Humation 1 asset package.
npm install @humation/react @humation/assets-humation-1@humation/react
React SVG component
Use this for apps that render avatars in React.
@humation/assets-humation-1
Humation 1 manifest and SVG assets
Pair this with every renderer. It contains the embedded artwork.
@humation/core
Framework-independent renderer
Use this for Node, workers, export jobs, or custom UI.
02
Render an avatar in React
The shortest path is the React component. One seed always renders the same avatar for the same installed asset package version.
1import { Avatar } from '@humation/react';2import { humation1 } from '@humation/assets-humation-1';3 4export function UserAvatar({ user }: { user: { id: string; name: string } }) {5 return (6 <Avatar7 assets={humation1}8 seed={user.id}9 size={96}10 title={user.name}11 />12 );13}Use explicit selections when users customize their avatar. Names, aliases, and canonical part IDs are accepted.
1<Avatar2 assets={humation1}3 selections={{ head: 'braids', body: 'hoodie', item: 'calico-cat' }}4 colors={{ hair: '#4A3728', skin: '#F4C9A8' }}5 background="transparent"6 size={128}7/>03
Render SVG anywhere
Use core when you need SVG strings in Node, Cloudflare Workers, export jobs, tests, or a custom framework.
1import { createAvatar } from '@humation/core';2import { humation1 } from '@humation/assets-humation-1';3 4const svg = createAvatar(humation1, {5 seed: 'felix',6 colors: { hair: '#123456', skin: '#FFEECC' },7}).toString();The renderer does not fetch remote files. The asset package includes embedded SVG strings, so the output can be generated offline.
04
Build a picker UI
The manifest exposes UI groups, part names, color slots, and preview helpers. This is the same path a shadcn-style copied builder should use.
1import { createPartPreview, getPartsForUiGroup } from '@humation/core';2import { humation1 } from '@humation/assets-humation-1';3 4const itemParts = getPartsForUiGroup(humation1, 'item');5 6const previews = itemParts.map((part) => ({7 id: part.id,8 name: part.name,9 previewSrc: createPartPreview(humation1, part).toDataUri(),10}));Common color slots are hair, clothes, bottom, skin, stroke, and background.
05
Save avatar state
Save explicit selections and colors when the user edits an avatar. Save a seed when the avatar can be regenerated from user identity.
1type HumationAvatarState = {2 seed?: string;3 selections?: {4 head?: string;5 body?: string;6 bottom?: string;7 item?: string;8 glasses?: string;9 };10 colors?: {11 hair?: string;12 clothes?: string;13 bottom?: string;14 skin?: string;15 stroke?: string;16 background?: string;17 };18};For long-lived saved data, canonical IDs such as hm1-p-000020 are the most stable. Human-readable names such as braids are convenient for code and prompts.
06
LLM-friendly implementation notes
Humation is intentionally small enough for coding agents to use from npm docs alone. Point agents to this page or to /llms.txt.
1Use @humation/react for React UI.2Use @humation/assets-humation-1 for the asset set.3Do not call a Humation API for rendering.4Use seed for deterministic generated avatars.5Use selections and colors for user-customized avatars.6Use @humation/core only when raw SVG output or picker previews are needed.